“Hayley and STW have been a great asset to our company and have assisted us with their knowledge and professionalism.”
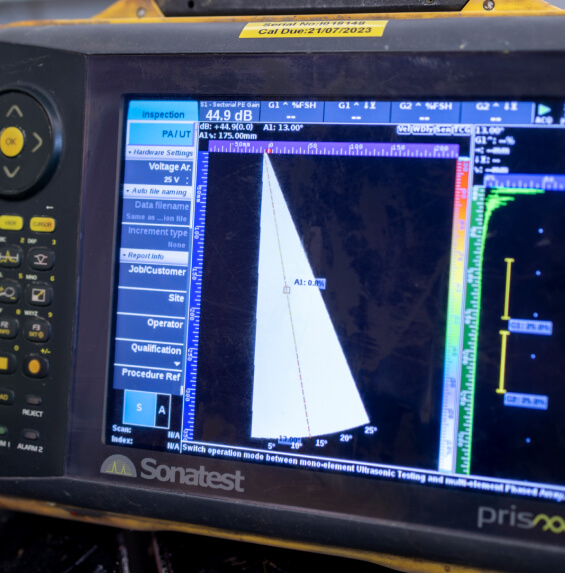
Phased Array Ultrasonic Testing (PAUT) is a Non-Destructive Testing technique that produces a detailed image of the internal profile of a component. PAUT can be used to precisely, reliably, and efficiently locate flaws when assessing a component’s integrity. The thickness of a material can also be checked using this technique by calculating the time taken between a pulse from the array and a reflector. Our experienced technicians have more than 10 years’ experience carrying out NDT in industrial settings and will be able to provide the high-quality Phased Array Ultrasonic Testing you require. Call 01795 432 634 to arrange an inspection.
Phased Array Ultrasonic Testing: The process
This technique uses an array of ultrasonic testing probes to send a series of ultrasonic sound waves through a component. These are pulsed so that each probe transmits at different times, causing the individual sound waves to converge into plane waves. Rather than physically moving the array around the component, the time delay between the sound waves can be adjusted to ‘steer’ the beam. This is ideal for inspecting components that are irregularly shaped or difficult to access. Phased Array Testing creates a visual image of a component’s internal structure, minimising the risk of operator error when interpreting the results. Crucially, this image can be made available to the client as a permanent record of the inspection.
Hear from our clients
“Great service, friendly, helpful and accommodating.”
“ST&W Inspections are a very reliable supplier of ours. They are quick to support us at with any inspections that we require sometimes on a short turnaround. This includes completing paperwork that we require to give to our clients and also if an inspection is required on site, they are always reliable to be able to meet our demands. Also, their knowledge of the industry is massive support to us when we require information when we might not have the answers.“
“It is genuinely a pleasure doing business with you and I look forward to continuing the relationship and using your services“
Speak with the experts
Our team has extensive experience with Phased Array Ultrasonic Testing. For our high-quality NDT services, call 01795 432 634, email info@standwinspections.co.uk or fill out the contact form. We will respond on the same day.

Phased Array Ultrasonic Testing for welds: Why it’s needed
Phased Array Ultrasonic Testing is an extremely precise NDT technique with industrial applications that include:
- Inspecting welds or components that are thinner than 8mm.
- Obtaining a visual image of a component’s internal structure.
- Identifying the exact location of a flaw within a weld.
- Collecting data to determine if a weld complies with industry standards.
- Determining the thickness of a component and determine any corrosion on the inside of pipelines.
What is the difference between Ultrasonic Testing and Phased Array Ultrasonic Testing?
Ultrasonic Testing (UT) is another technique that can be used to assess the internal integrity of a component. Unlike PAUT, UT produces results that require interpretation by a technician. This is because this NDT technique doesn’t produce a visual image that can be stored and referred to. The thickness of a weld or component will also determine which of the two techniques to use. The advanced transducer used within PAUT can effectively assess materials down to 2.9mm in thickness, whereas UT is ineffective below a thickness of 8mm. PAUT has several advantages over UT. It offers a simpler inspection process with no need for multiple probes, increased detail and accuracy, and a permanent record of the inspection.

Other Non-Destructive Weld Testing methods
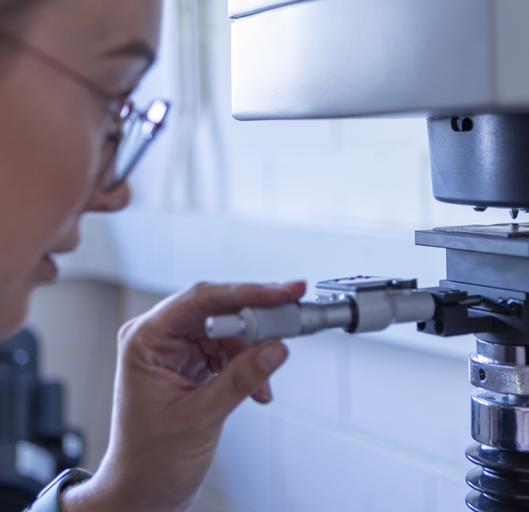
We aren’t limited to Phased Array Ultrasonic Testing. Our technicians can carry out a wide range of other NDT techniques. For DT methods such as Hardness and Fracture testing, our sister company, S.T & W Laboratories can provide their support.

Visual Inspection
Visual Inspections are carried out by expert technicians who can identify any surface discontinuities by eye.

Magnetic Particle Inspection
Magnetic Particle Inspection can be used to identify flaws on or near the surface of ferromagnetic components.

Liquid Penetrant Testing
Liquid Penetrant Testing highlights surface flaws using a solution containing a dye and a developing agent.

District Heating NDT
We’ve developed a method for District Heating NDT which reduces costs and is safer than radiography.

Positive Material Identification
Positive Material Identification can determine the constituent elements within a material.
Working with
S.T & W Inspections
Our technicians are highly experienced, having worked in the industry for more than 10 years. We can carry out a wide range of NDT methods, assessing the integrity of your component and identifying any flaws. Our approach prioritises innovation and responsiveness, making sure our clients aren’t kept waiting for an effective weld inspection service.

Responsible Welding Co-Ordinators
We can provide a Responsible Welding Co-Ordinator (RWC) to oversee your welding activities and provide expert advice. An RWC will ensure that weld procedures are followed accurately and are carried out in accordance with the standards in your industry. They can also be consulted to develop new procedures if the need arises.
Contact
S.T & W Inspections
Contact our team to enquire about Phased Array Testing and our other NDT services. Call 01795 432 634 or email info@standwinspections.co.uk to tell us your requirements.

